Continuation .. .
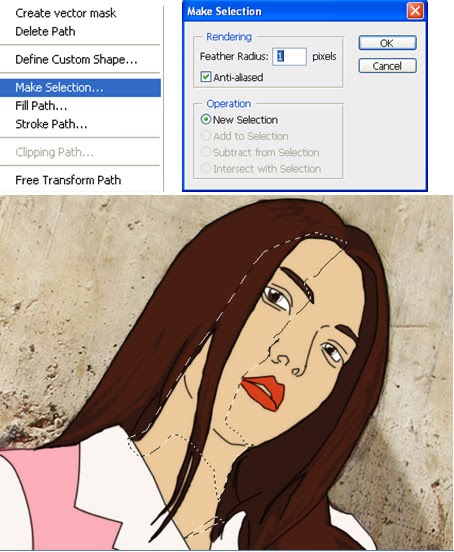
1. Still in the selection condition of the Pen tool, the next to the next stage. Select the Direct Selection tool, right-click on the selection area of the pen tool. Select Make selection.
1. Still in the selection condition of the Pen tool, the next to the next stage. Select the Direct Selection tool, right-click on the selection area of the pen tool. Select Make selection.

- The shape of the Make Selection
2. Still in conditions Make Selection, next to the coloring stage. Select the Brush tool, and color selection area.
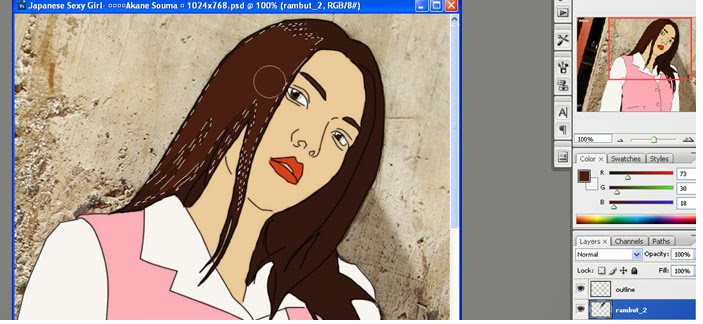
3. Press Ctrl + D to remove the selection area.
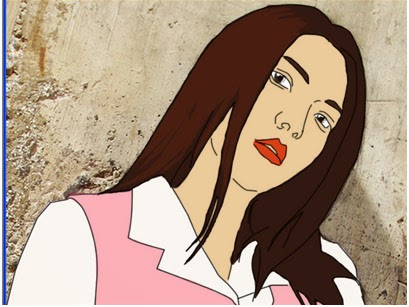
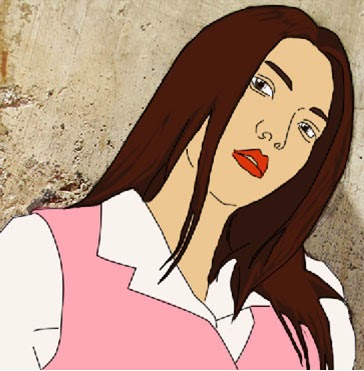
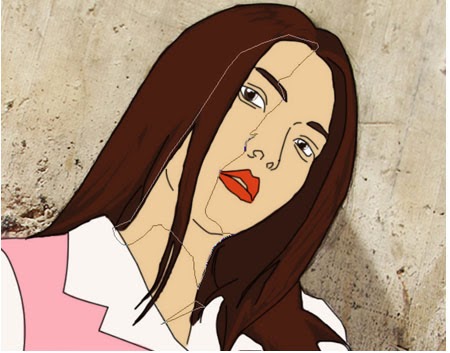
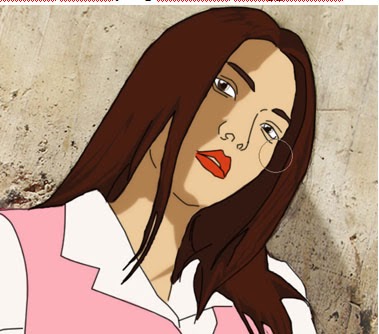
- Result
- Paint the other hair area.
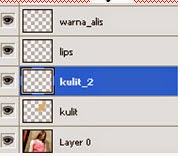
4. Add a layer above the layer of skin, name the layer kulit_2.
5. Select the Pen tool, and the selection of the skin.
6. Select the Direct selection tool. Right click on the Pen tool selection area, select Make Selection.
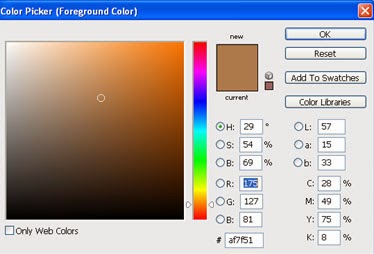
7. Take a sample of skin color using the Eyedropper tool. And change the base color of the skin becomes slightly darker color.
8. Fill the selected area using the Brush tool.
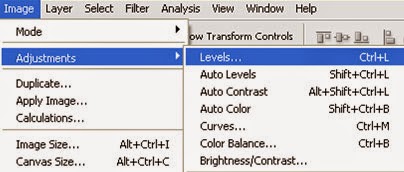
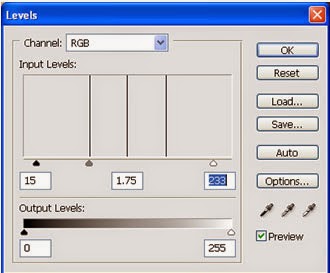
9. The resulting color is dark, to set the color to match the skin color of the base, select the Image Adjustment levels.
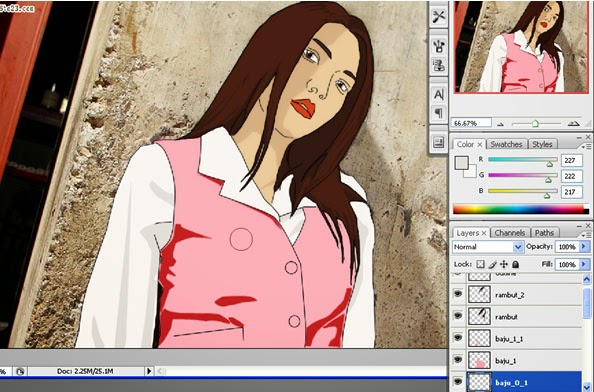
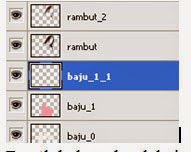
10. Add a new layer above the layer shirt v1, name the layer baju_1_1.
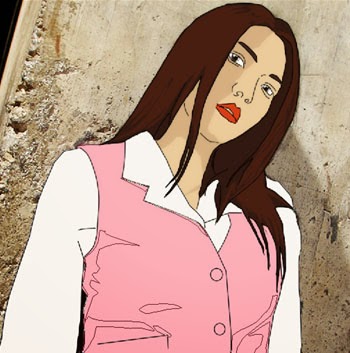
11. Make a selection area to the coloring of clothes Akane Souma.
- Establish a path with the Pen tool.
- Let's Make Selection


12. Take a sample of the color of clothes by using the eyedropper tool.

13. Then paint the selected area using the Brush tool.

14. Add a new layer above the layer clothes 0, name the layer baju_0_1.

15. Selection area Akane Souma shirt using the Pen tool.

16. Select the Direct Selection tool, right click on the Pen tool selection area. Select Make selection.

17. Fill the selected area, use the color gray.

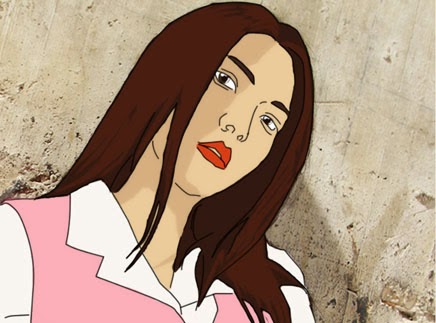
- Result -